This post follows my previous post: Building a Deep Learning rig that pays for itself - you should definitely go read that one if you’re interested in finding out how I justified spending the money 💰💰💰.

With a solid justification under my belt, I had to figure out what I was going to build. Given the approximate payback rate of $1,500 per year I really wanted to keep it below that figure. Practical constraints drove it closer to $2,000, but given that the asset will have a residual value of more than $500 at the end of the year I think I’m in the right ballpark.
GPU
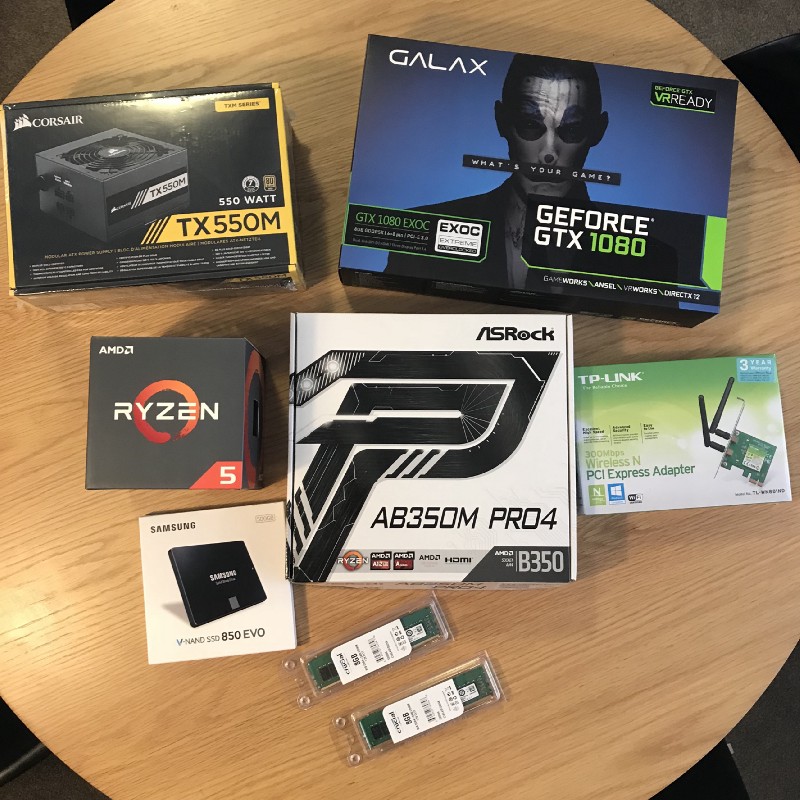
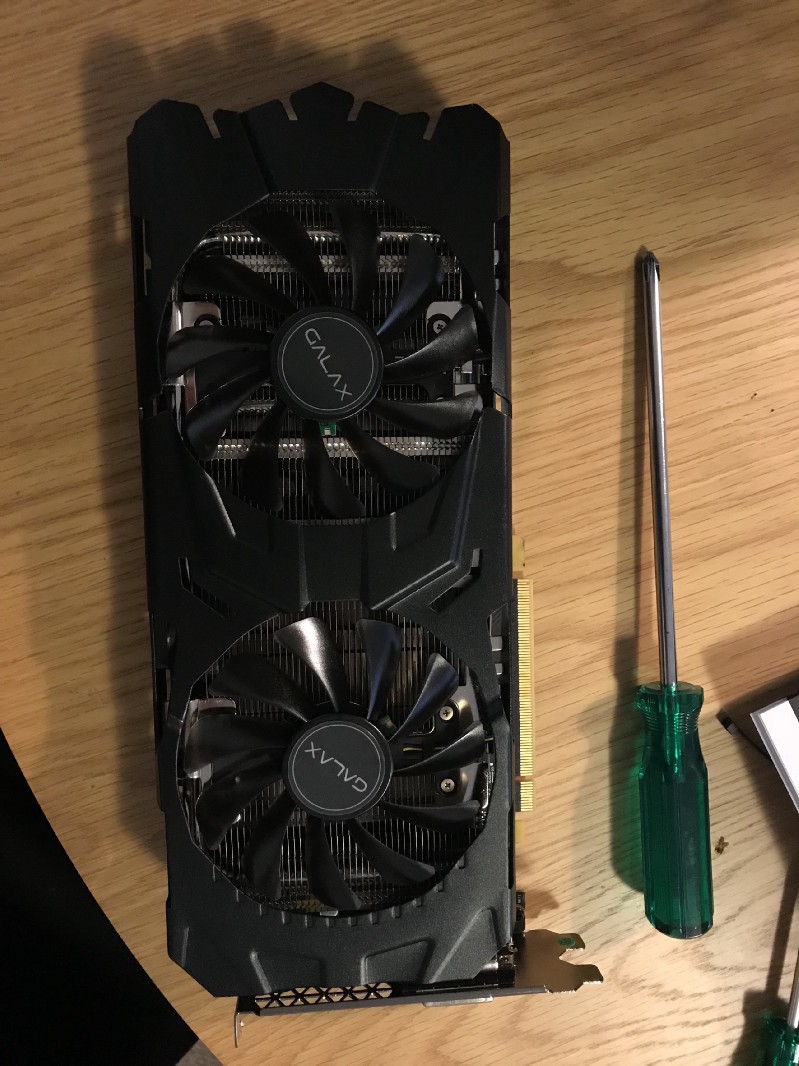
This is arguably the whole point of the exercise, and as I mentioned in the previous post I chose an nVidia GTX 1080, as it’s significantly cheaper than the market leading GTX 1080 Ti yet it performs almost as well. I spent a fair bit of time trying to understand why so many different companies are making products for nVidia, and I’m still a bit confused, but it seems like they’re either building cards around an nVidia chip or they’re building chips under licence. Either way, everything I read online suggests that it doesn’t really matter which manufacturer you use, and that it comes down to taste. I disagree with the taste bit though - for me it comes down to price and noise. This thing is going to run 24⁄7 so it needs to be quiet. Luckily the cheapest card on the market ($699, made by GALAX) happens to be one of the more quiet designs. Sold.
CPU
This is less important for deep learning and mining profitability, but most ML work is done on the CPU so I still need a solid performer here. The AMD Ryzen chips are getting really good reviews, and seem to be much better value than Intel’s latest offerings. The AMD Ryzen 5 1600 in particular seems excellent value, giving you 6 cores (which means 12 parallel processing threads with hyperthreading, i.e. I can train models in 12x parallel) and performing almost as well as the top-of-the-range 1600X. It also comes with a cooler, which means it’s WAY cheaper and gives you about 90% of the performance of the 1600X. Same as the GPU, I’ve tried to pick the elbow of the price-value curve, getting the most powerful thing available before the prices start going up sharply.
Motherboard, RAM and SSD
This was way easier than I expected. There is a magical new site called PC Part Picker which lets you select components based on a search (which means you can sort based on price), and checks to make sure all of your parts are compatible. The site suggested the ABRock AB350M Pro4 motherboard (because it was the cheapest compatible board), 2x8GB RAM chips which I can’t remember what brand they are (you’ll definitely want 16GB or more of RAM), and a Samsung SSD (which I chose to be 500GB). It’s worth pointing out that an SSD is almost essential for the ML side of things, because the speed at which you can read data into RAM is important for training when you’re using large datasets. This means that you don’t actually need an SSD for Windows, and it might be worth picking up another cheap, smaller drive for Windows if you don’t already have one lying around.
Case and Power Supply
Again, PC Part Picker to the rescue - it does all the hard work and checks part compatibility for you. I chose a Corsair Carbide 400C because it’s relatively cheap, looks pretty slick, and doesn’t have all of that gross “gamer” stuff all over it. The power supply just needs to be large enough to cover PC Part Picker’s power estimate (329W in my case), and you’ll probably want to pick one which has some sort of precious metal in the name as that corresponds to energy efficiency. I chose a Corsair 550W “Gold” power supply.
Other things I forgot to buy the first time
I already had a monitor, but I had forgotten that non-laptop-people have to buy keyboards and mice. I also forgot that desktops typically don’t come with WiFi by default, so I had to buy a card for that too.
If you would like some alternative opinions about how to select parts, I also liked the approach taken in this guy’s post.
The full list of equipment in the build is here, and the total cost of the build (without a monitor) is $1,798. Not bad!
The build process
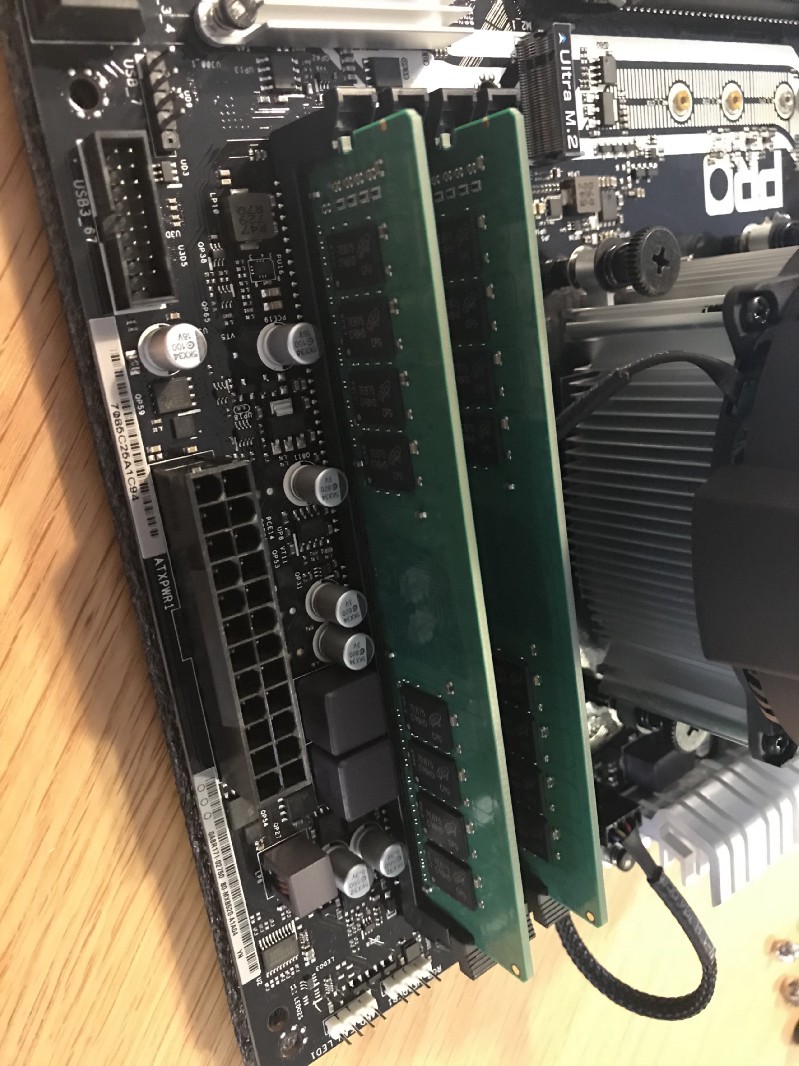
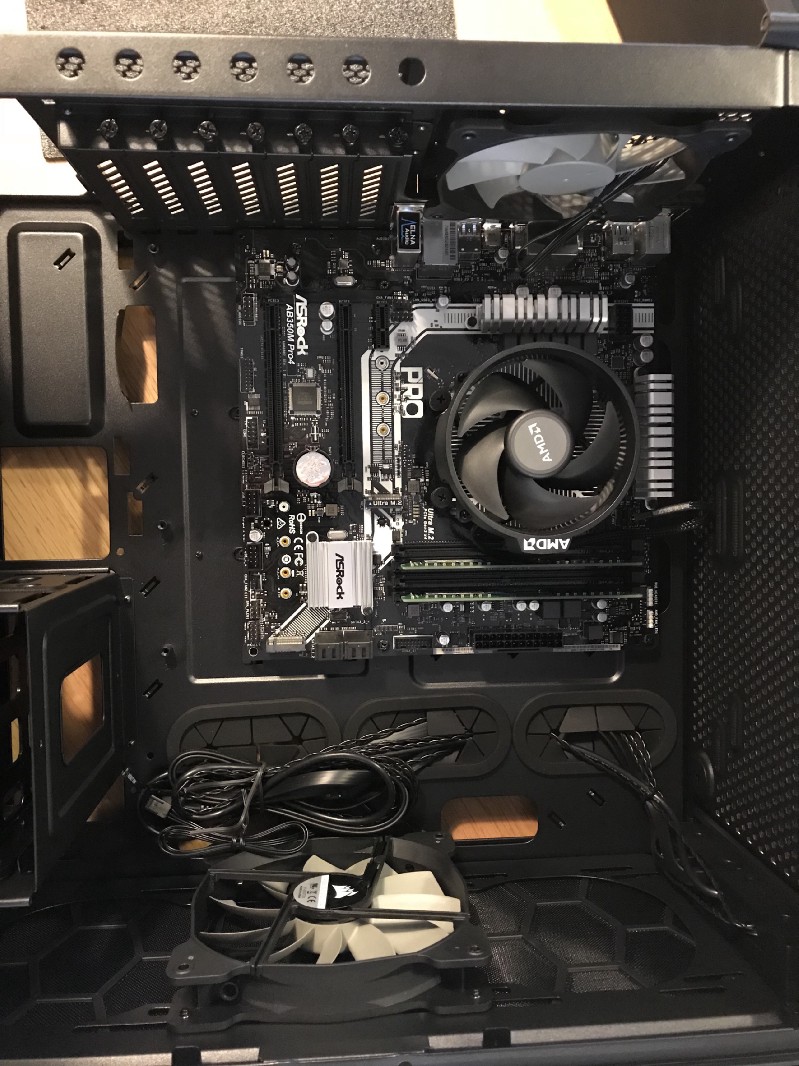
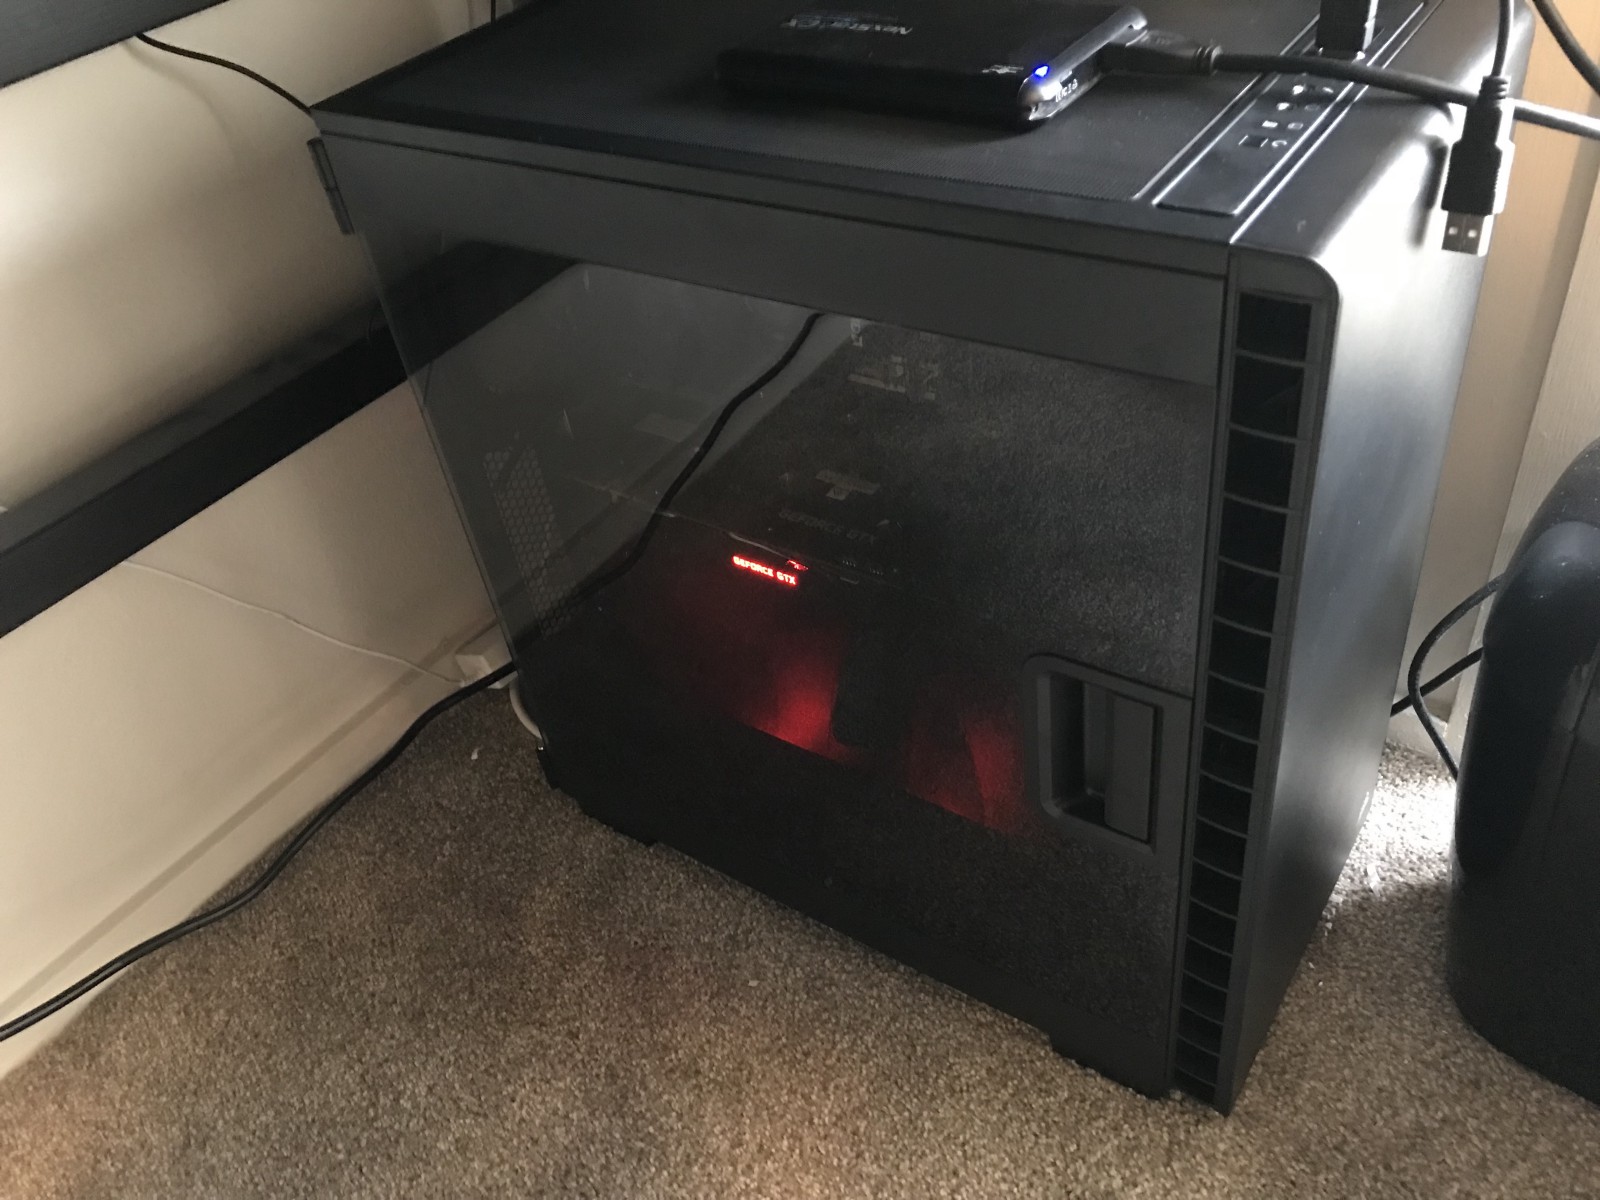
I won’t document the whole build process here as I’m anything but an expert on building PCs (I followed this video), but I will include a few photos to prove that I actually did it. I was pretty happy with my component selection, but I found the following things hard or surprising:
- The GPU card is huge. I saw the measurements and checked that it would fit, but I still wasn’t really expecting it to be so massive.
- The case is great and has some really excellent features, but it was pretty tight getting the back cover on after hiding all the cables back there. Closing the back cover was the hardest part of the whole build.
- I forgot that I had to put an operating system on it, so I had to use Windows Boot Camp on my Macbook to create a “Bootable Windows Installer USB” so that I could install Windows on the new machine. Not difficult, it just delayed launch by about an hour.
- Everything comes with a CD. I’m not sure why - all the software downloads automatically.
Photo time! I think it looks pretty good.
